Dynamically generate open graph images
Dynamically generate open graph images #
At Beyond Code, we have a lot of open source packages. To make our documentation pages look nicer, when being shared on Twitter, Slack or Facebook, I manually create open graph images, like this one:

Or this one:
And this is quite a time consuming task having to do this manually every time. As every good developer is lazy, I looked around to see how I could generate those images myself.
Generate the image yourself via PHP #
One possible option would've been to use a headless chrome (by using something like Puppeteer) on my Laravel Forge provisioned server and handle the image generation myself. While this would work, I don't like this approach for a couple of reasons:
- It requires me to have chromium installed and running on my Forge server
- Dynamically invoking the image generation can quickly eat up a lot of resources
I want this service to generate the images on-the-fly. So running software on my own server definitely is a no-go for this.
The better approach #
The alternative is to make use of serverless ✨ functions for this. Every time a new image URL gets requested, a service could simply run headless chrome, generate the image and cache it forever in case it gets requested again. This way I don't need to deal with resources and caching myself.
If you are curious about the end result, you can take a look at https://banners.beyondco.de - a free service that lets you generate beautiful open graph images for PHP packages.

How does it work #
To get started, you need to create a free Vercel account. This will allow us to make use of serverless computing and deploy our actual application. Once you have created your account, install the vercel NPM package in order to trigger deployments.
You can either use NPM or Yarn for this:
yarn global add vercel
npm i -g vercel
Luckily, Vercel has already created a dynamic open graph image generation service, which we can use as a starting point and modify it to fit our needs.
To deploy and modify this application, you first need to fork and clone it. Press the fork button at the top right of Github on the og-image repository.
After forking it, go ahead and clone your fork into a local folder:
git clone URL_OF_FORKED_REPO_HERE
Next, let's change into the directory using cd og-image.
Without making any modifications, lets try and get the project running locally. All you need to do is run:
yarn
vercel dev
On your first run, Vercel is configuring the future deployment for you. You can confirm leave everything to the provided defaults.
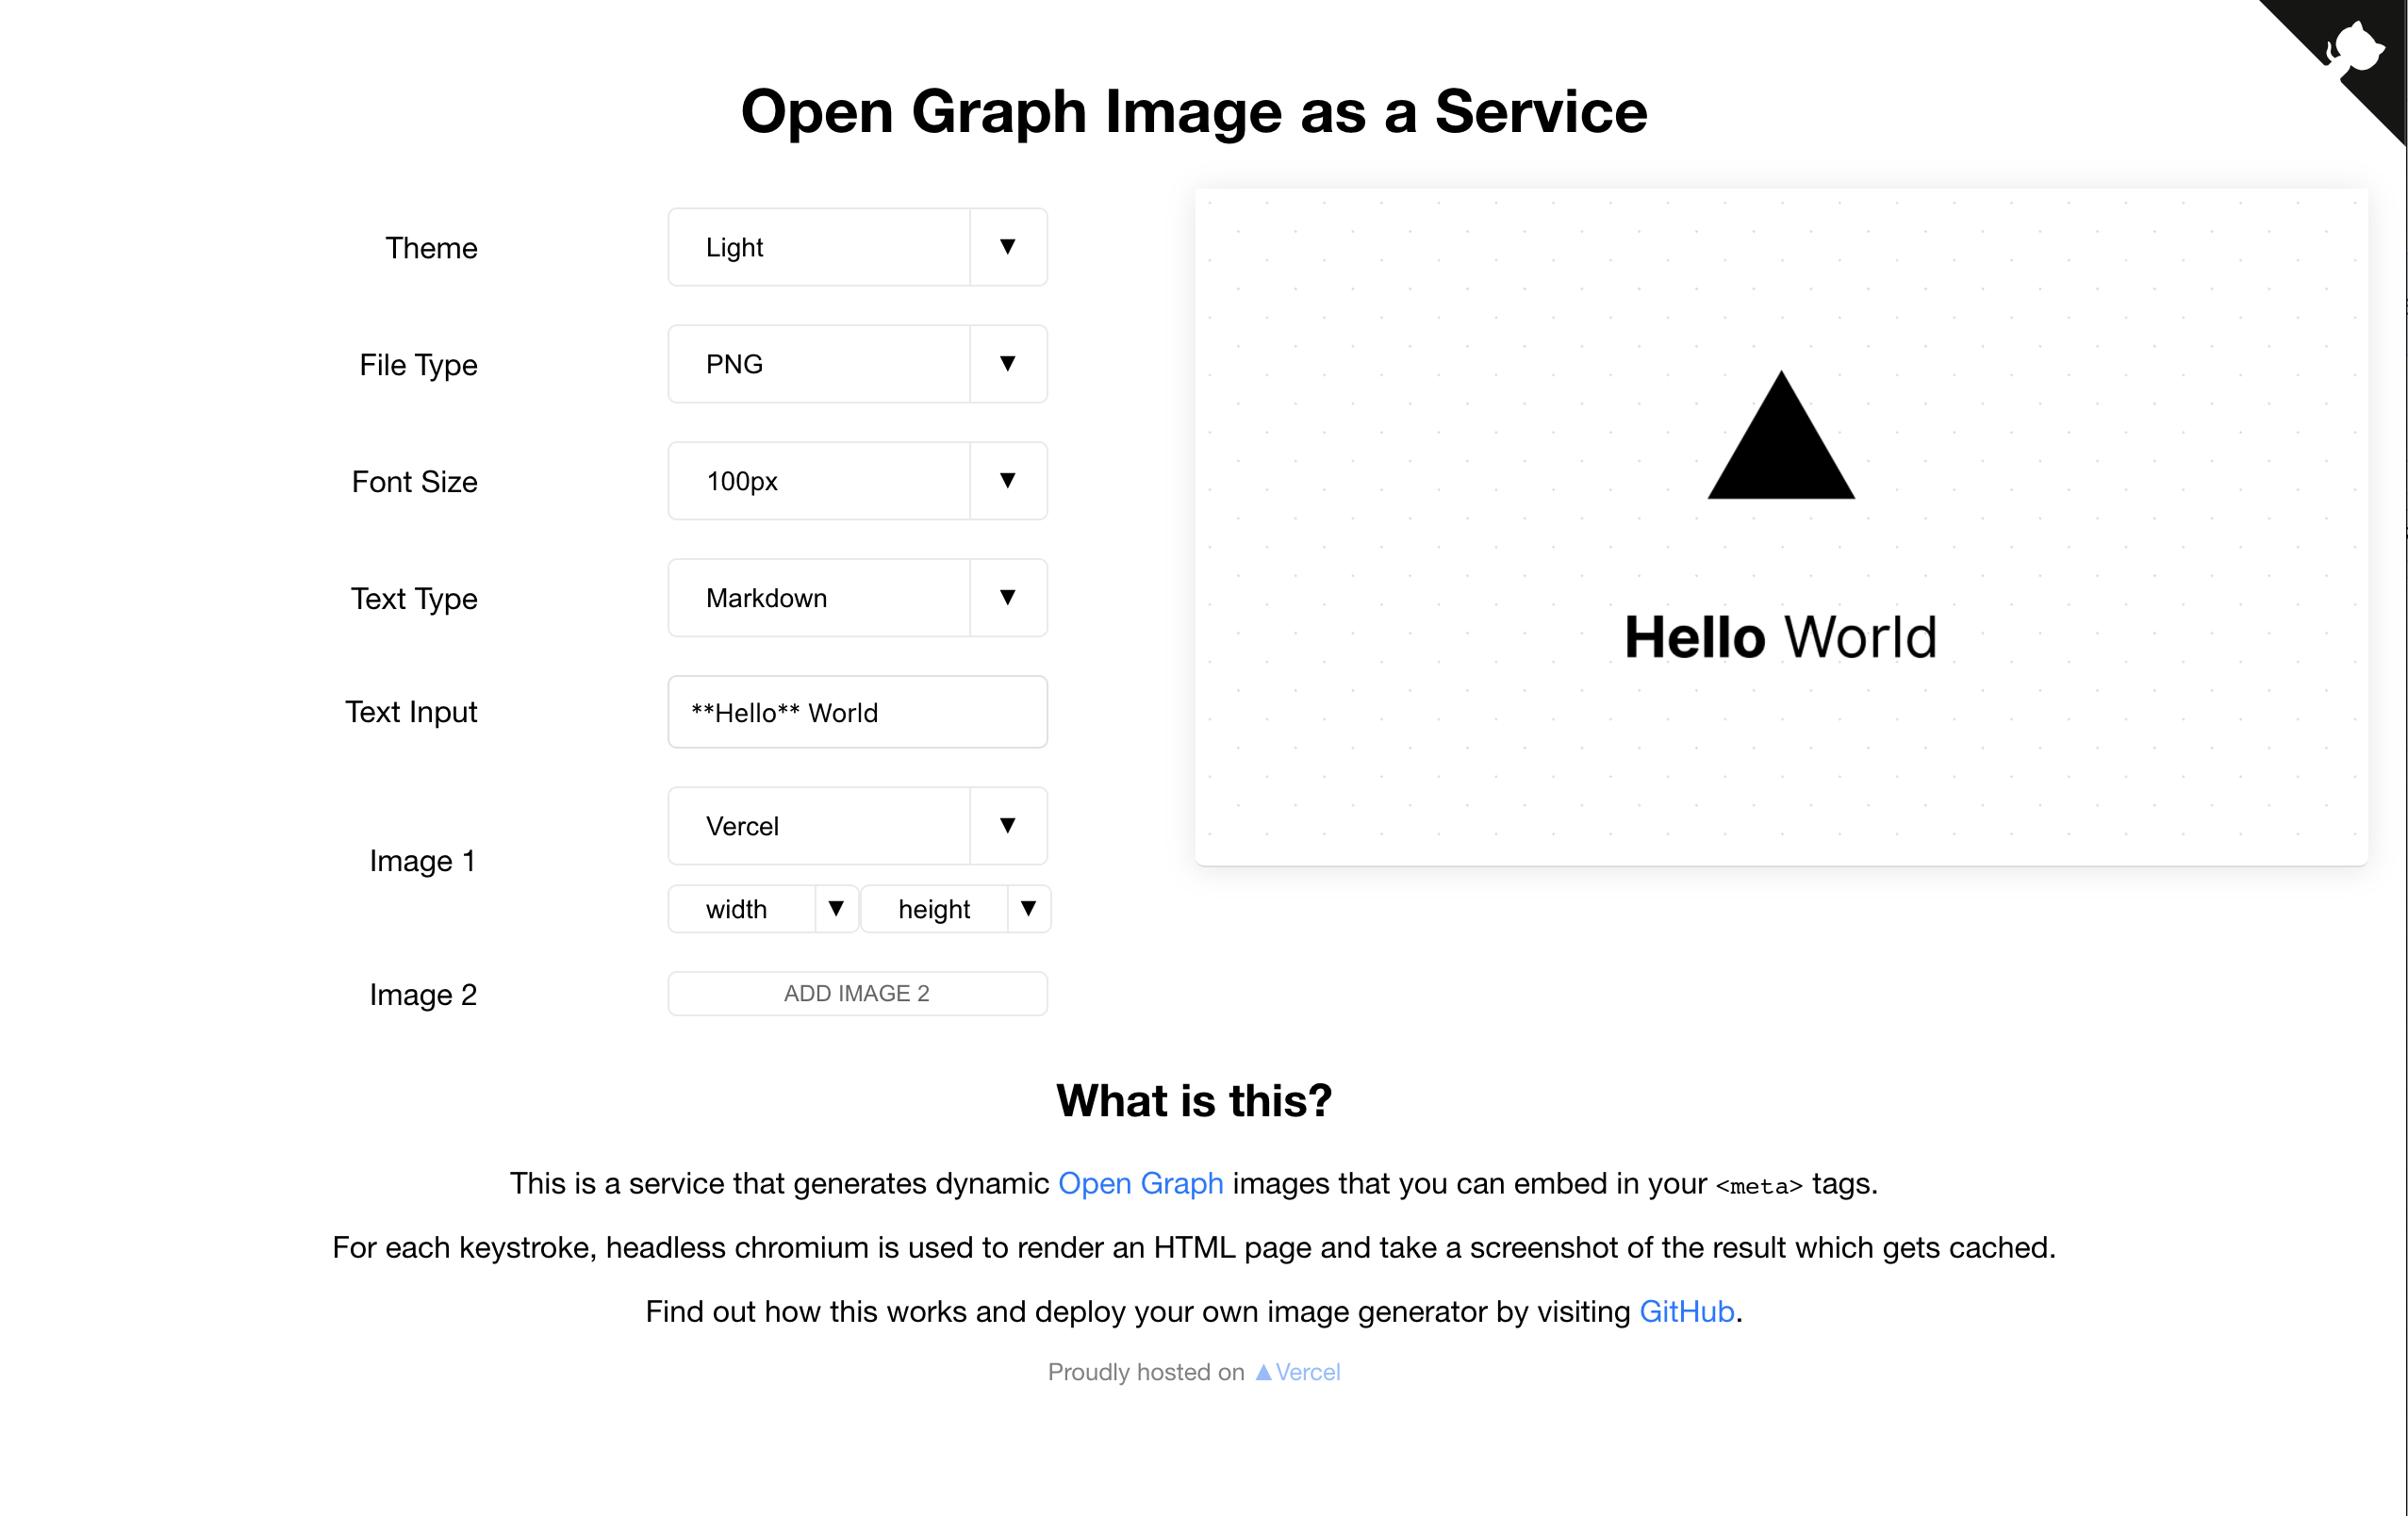
If everything worked correctly, you should be able to access http://localhost:3000 and see the service:
Making changes #
Now that we got vercel dev running, this also takes care of watching our files for changes.
The project itself consists of two main pieces:
- The frontend, which happens inside the
/web/index.tsfile. This takes care of rendering the dropdowns and input fields that you see in your browser. - The backend image generator, located at
/api/index.ts. This takes care of actually creating a screenshot using chromium and returning it.
Without worrying about the frontend, the heart of the generated image is the /api/lib/template.ts file. This file contains the actual HTML code that will be used to generate the image.
export function getHtml(parsedReq: ParsedRequest) {
    const { text, theme, md, fontSize, images, widths, heights } = parsedReq;
    return `<!DOCTYPE html>
<html>
    <meta charset="utf-8">
    <title>Generated Image</title>
    <meta name="viewport" content="width=device-width, initial-scale=1">
    <style>
        ${getCss(theme, fontSize)}
    </style>
    <body>
        <div>
            <div class="spacer">
            <div class="logo-wrapper">
                ${images.map((img, i) =>
                    getPlusSign(i) + getImage(img, widths[i], heights[i])
                ).join('')}
            </div>
            <div class="spacer">
            <div class="heading">${emojify(
                md ? marked(text) : sanitizeHtml(text)
            )}
            </div>
        </div>
    </body>
</html>`;
}
Now you can go ahead and modify the HTML returned from that function, reload your browser and see the changes in the generated image.
You can also speed up the development, by disabling the image generation and instead just return the HTML that gets used for the generation. This way, you do not need to actually invoke Chrome screenshots locally.
To start your app in this mode use:
export OG_HTML_DEBUG=1 && vercel dev
This will set the OG_HTML_DEBUG environment variable and start vercel in development mode. When you now visit http://localhost:3000, you won't see an image generated, as we explicitly skip this step.
Instead, click on the div that would contain the image to copy the URL to your clipboard. You can then visit this page in your browser instead and get the HTML.
Deploying to Vercel #
Once you have made all the changes that you need, its time to deploy your application to Vercel. For this, all you have to do is run:
vercel
This will deploy your application to the cloud and Vercel will give you a unique URL which you can use to see your image generation service in action.
Banners #
As I said, we have released "Banners" - our own free to use service to generate open graph images for PHP / Laravel packages. It is also based on Vercels og-image repository. Feel free to look around and see how we added custom background patterns, Heroicons and more. The code is available on GitHub.