Use the Telegram login widget
Yesterday Telegram announced a Login Widget, which allows you to add a "Login with Telegram" button on your website.
By clicking on this login button, the user needs to input there phone number and instantly receive a confirmation message from Telegram.
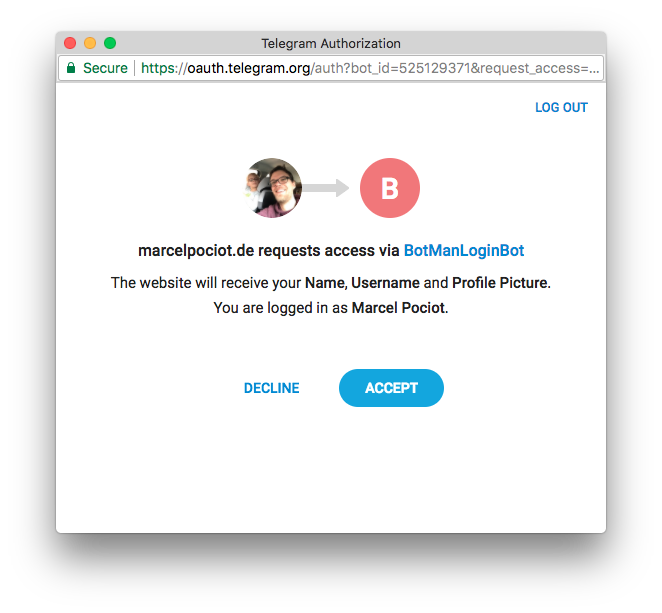
Upon confirming the login, you - as a website owner - retrieve the following information from the Telegram Bot:
- The user's Telegram ID
- The first and last name of the user
- The username on Telegram
- The avatar URL
- The date of the authentication
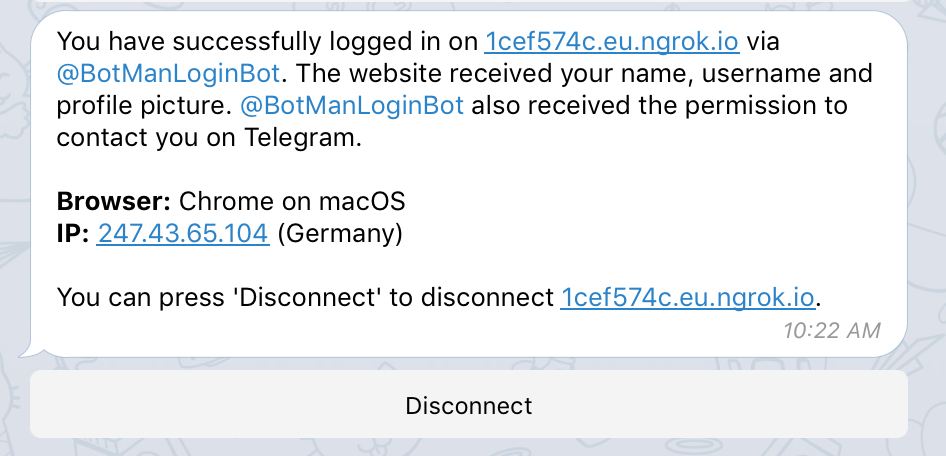
In addition, you also get the approval to send messages to the user in the name of your Telegram chat bot.
Let's take a look at how this works with Laravel and BotMan Studio:
Create a new BotMan Studio application #
To get started, we first need to create a new BotMan Studio application, which is now based on Laravel 5.6, using:
$ botman new telegram-login
Next, install the Telegram driver, so we can instantly reply the Telegram user that connects to your bot.
$ composer require botman/driver-telegram
Create a Telegram Bot #
Next we need to create a Telegram bot. Simply send a message to BotFather to create a new bot. At the end of the bot creation process, you will receive an access token.
Save this in your application's .env file:
TELEGRAM_TOKEN=YOUR-TOKEN-FROM-BOTFATHER
Link your domain with your bot #
In order to use the login widget, you also have to link your newly created bot with your domain.
In order to test this locally, you can use Laravel Valet or Ngrok to share your local url.
To link the domains, just send /setdomain to BotFather and send him the domain that you want to use for your bot. This domain will be validated when you embed your widget, so it can only be used on the domain that you pass to BotFather here.
Listen for the login event #
To listen for a Telegram Login event, you can make use of BotMan's event API.
This event will receive an array containing the user information listed above, and a BotMan instance which you can use to instantly reply to your user.
$botman->on(TelegramDriver::LOGIN_EVENT, function($data, $bot) {

	$bot->reply('Hello '.$data['first_name'].'! Thank you for logging in!');

	// You probably want to store the user information here

	redirect()->to('/my/auth/url')->send();

});
Create your Login Widget #
Now that we have everything in place, we can create our login widget. Telegram provides us with an easy to use code generator for this purpose:
https://core.telegram.org/widgets/login
You can either retrieve a javascript callback upon authentication, or you can make use of the new BotMan Telegram Login event.
To do this, just use the redirect URL and give it the URL of your BotMan route, which defaults to https://your-server.com/botman and you're ready to go.